


The third in our how to build a modern farmhouse series, in this article I highlight some handy self build top tips and lessons from my experience building our own farmhouse over the last two years.
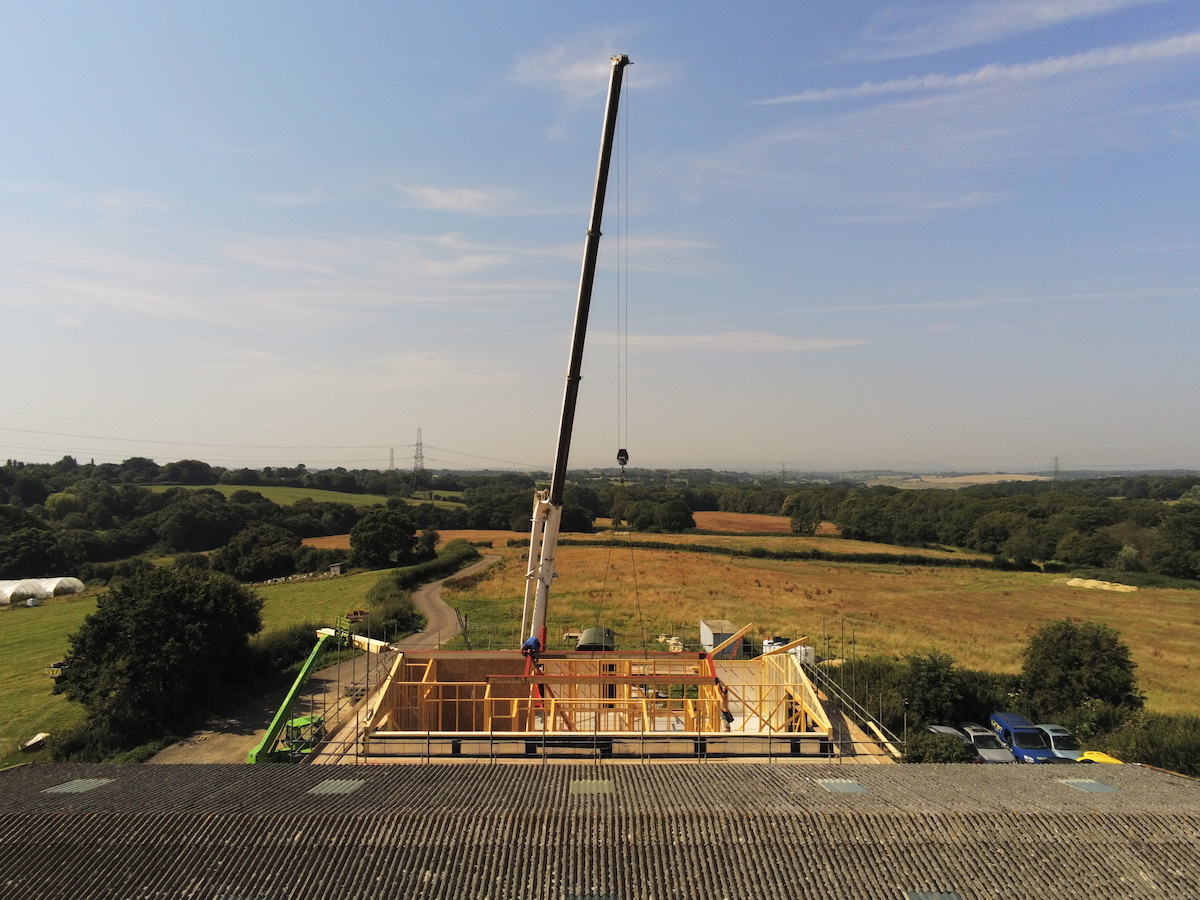
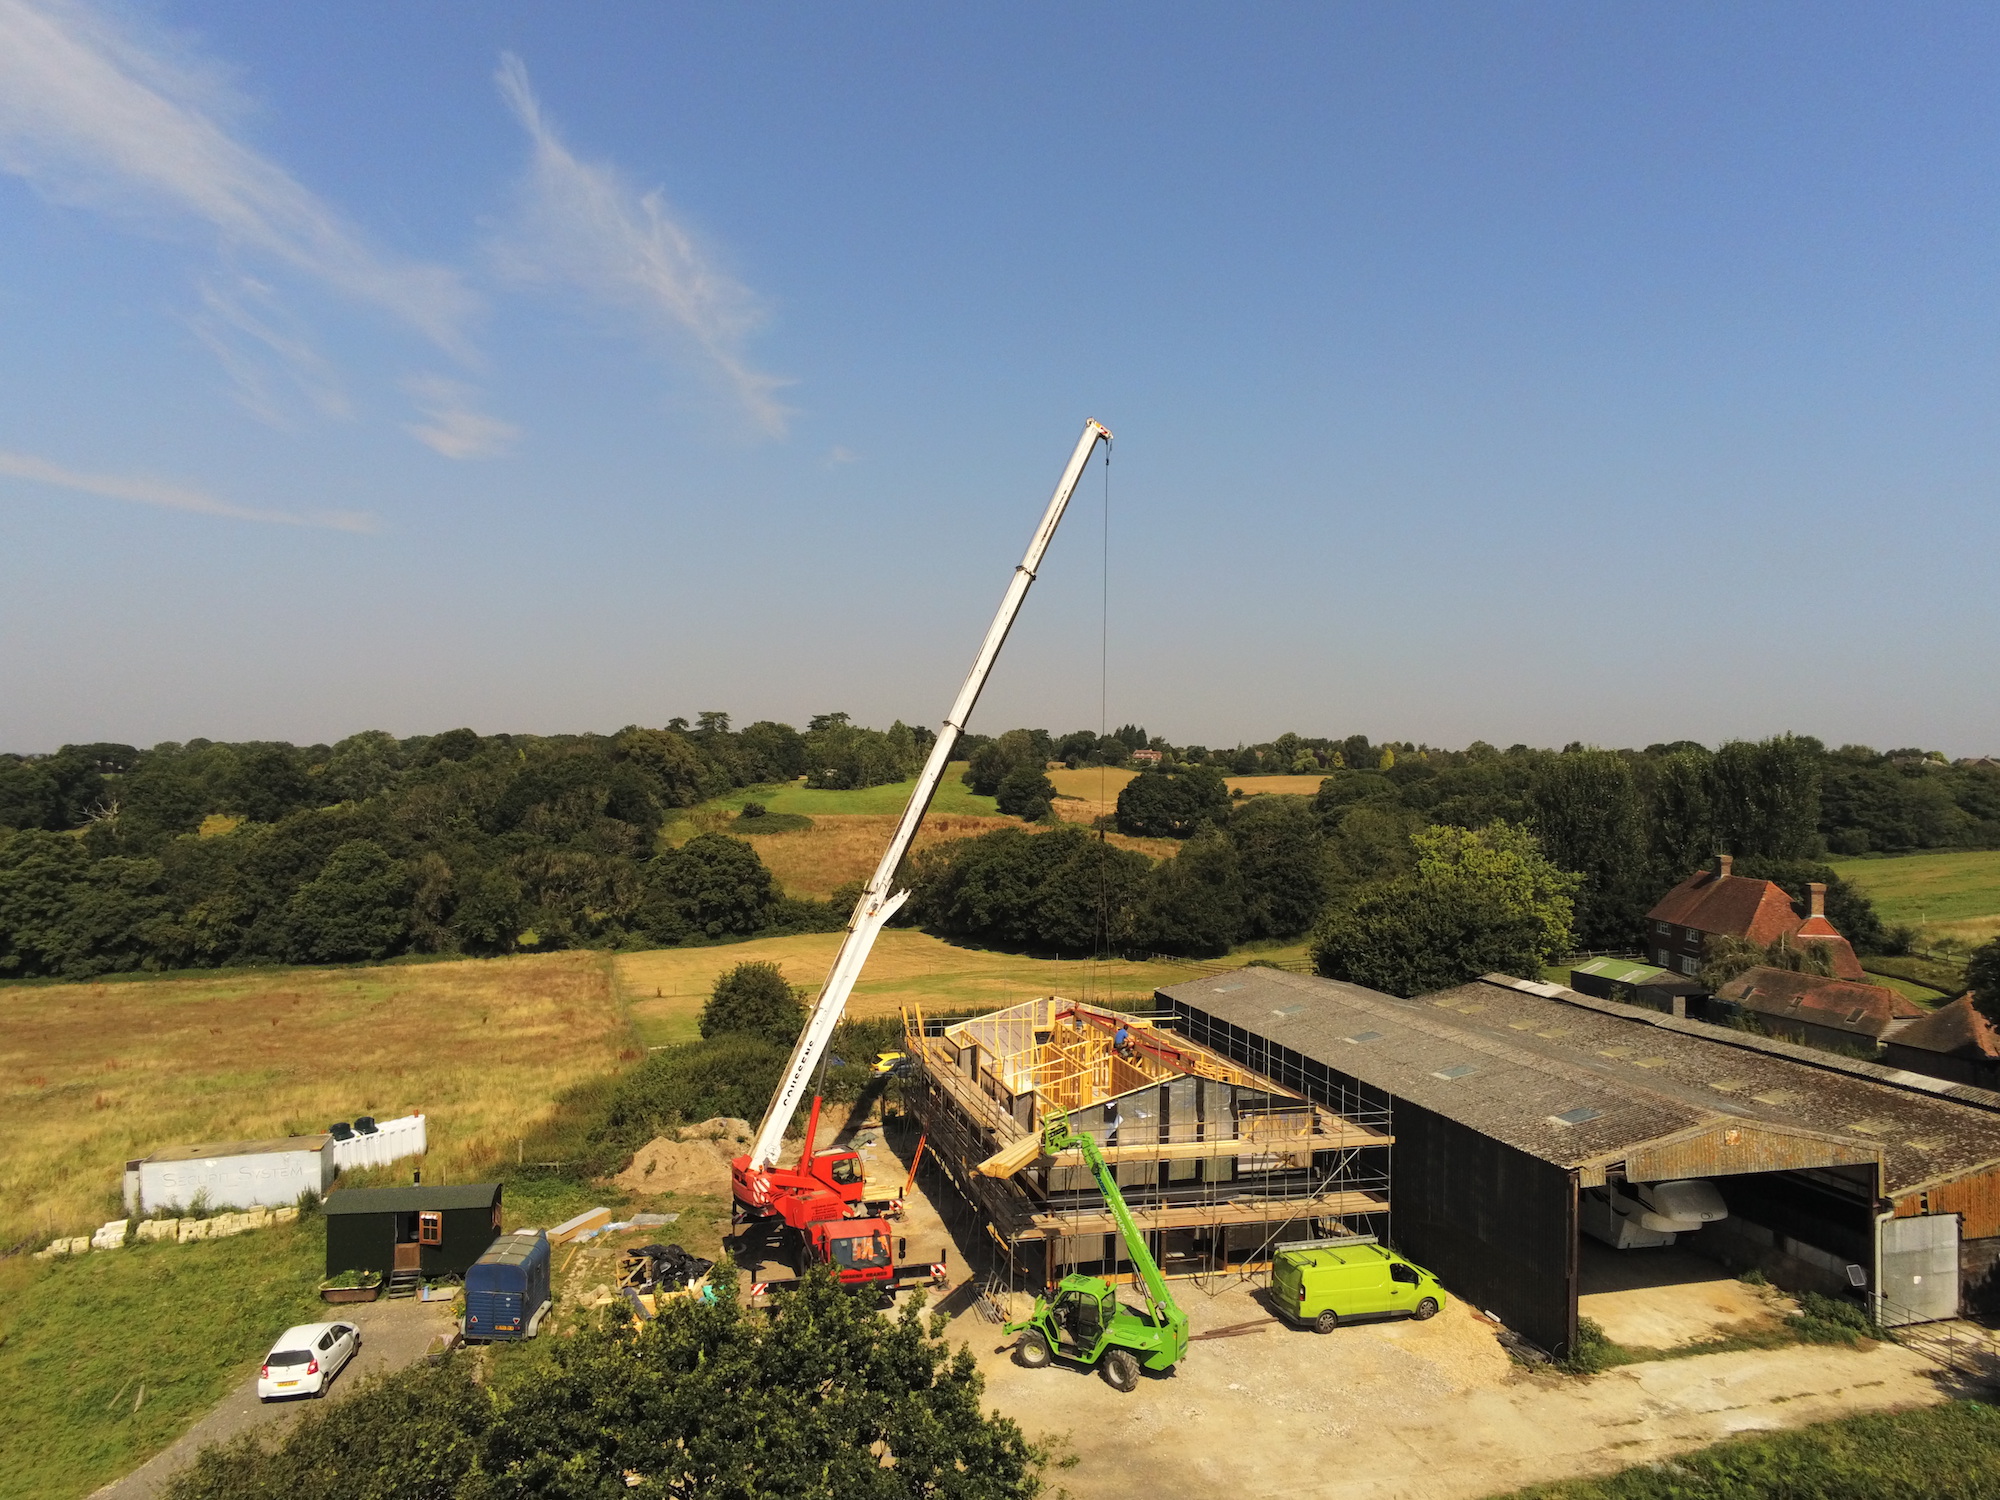
To recap briefly, Hannah and I have spent the last 18-24 months building our own farmhouse from scratch. I got planning approval back in the autumn of 2017. However, it took more than a year to figure out how to build the house on our (modest) budget. We managed to find our main suppliers and finally got started on the foundations in May 2019. Once we got going, things happened quickly. Our foundation installation took less than a week. The timber frame went up in two weeks – carried out by our sub contractor.
We’d definitely recommend hiring sub contractors to carry out the higher risk elements of your build. Unless you have prior self build experience of course. For us this meant hiring a foundation supplier to design and install the passive slab foundation, a timber frame supplier to design, build and install our insulated timber frame and a glazing supplier to design and install all the glazing for the house (minus the roof lights – which we used off the shelf Velux windows). These three elements accounted for over fifty per cent of the overall self build budget. That’s not to say you can’t still save yourself a small fortune by shopping around and getting lots of quotes. I cover these three items in more detail in my previous post here.
Project manage the build and use sub contractors
If you have the time flexibility and commitment, I’d also recommend taking on the role of project manager. Other than a love of Grand Designs I had zero build experience going into this process. It’s amazing how quickly you can learn though, if you’re happy researching online. YouTube is a great resource, as are online forums like BuildHub. I also subscribed to a couple of self build magazines that were helpful.
For lower risk elements of the build I hired local self employed builders and carpenters on a day rate. Often builders like to work in pairs but since I was able to be onsite most days I took on the role of ‘labourer’. I spent a lot of my time fetching tools, going up and down ladders, popping to the local builders merchant to pick up more materials – the list goes on. Bottom line, I saved a good deal of labour cost and learnt a few practical skills along the way.
Stay onsite if you can
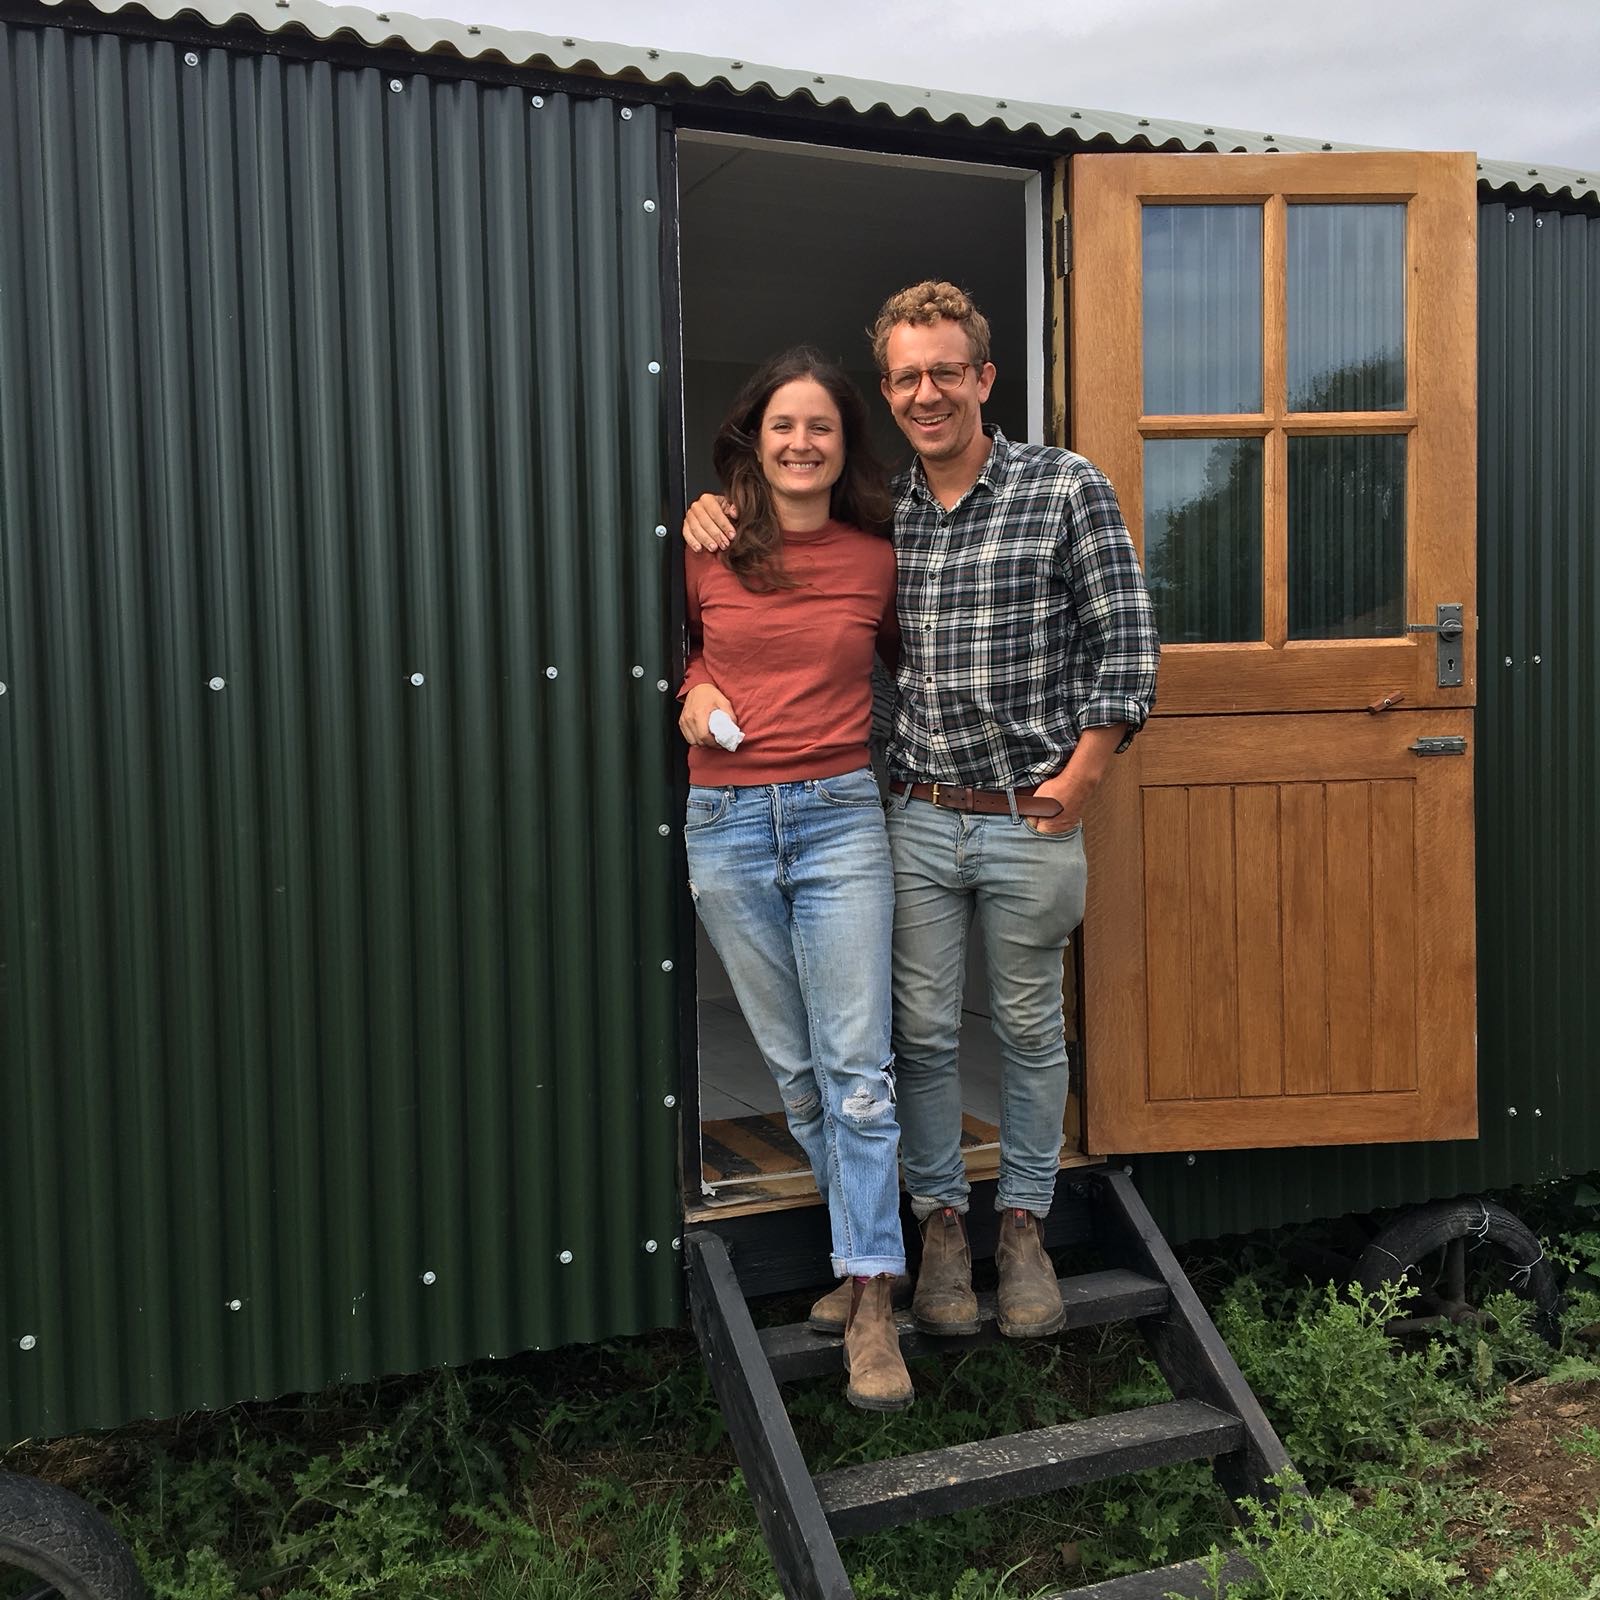
Before starting the build my uncle Brian built us a basic shepherd’s hut (16ft long by 7ft wide) which we used as our base at Modern Barn Farm. It wasn’t luxury – no en-suite, shower or kitchen. Just a fold down desk, wood burner and bed with storage. It cost about 7k to build and kit out. But over the course of the build it easily paid for itself. By being able to deal with problems quickly. When I wasn’t labouring, I could sit at my desk to make phone calls and check emails on my laptop. It was also a little sanctuary for Hannah and I away from the chaos, noise and mess of the building site!
After finishing the build, we decided to relocate the hut on the farm and have turned it into a farm stay. You can read more about this journey on Indie Farmer here.
Value engineer your build using alternative materials
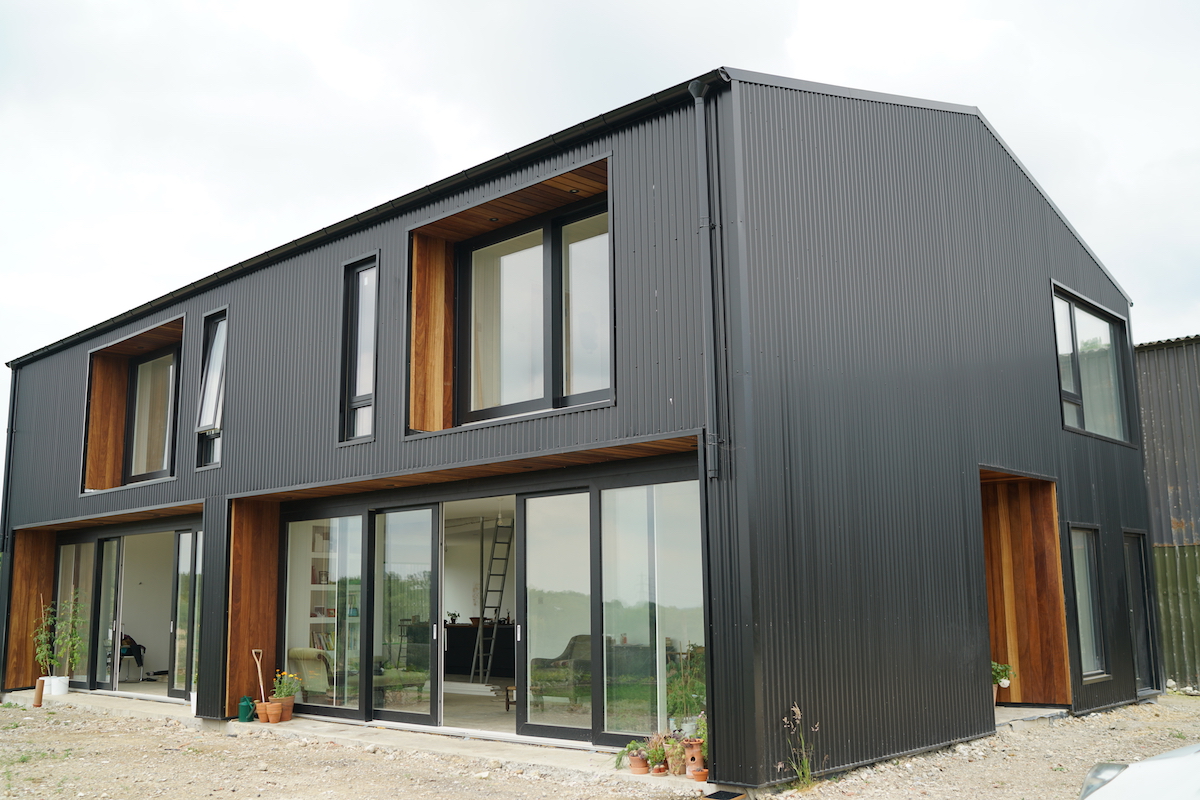
Originally we had planned to clad the entire house with vertical timber boards, but switched to corrugated metal cladding as a simpler, more cost effective option. We also prefer the look as it blends in well with the existing cluster of farm buildings behind our house.
With the help of our builder Mark we fixed all the battens and counter battens to the walls and roof. We then fixed the vertical metal sheets using low profile fixings, using a laser to ensure they were level. Lastly we fixed flashings around all the joints at the corners, windows, doors, roof ridge, gable ends etc. It did take a bit of figuring out – especially the flashings but Tata Steel who supplied our sheets and flashings were very helpful, as were our window supplier Norrsken.
Install a Mechanical Ventilation and Heat Recovery (MVHR) System
If you want to build an energy efficient house like us, it will need to be highly airtight. This means you need a system to ventilate the rooms. This is especially important in the wet areas – like kitchens and bathrooms. The traditional method of ventilation is installing noisy and thermally leaky extractor fans in the kitchen and bathrooms. You also need to spec trickle vents on all your windows, making them less efficient too. The more modern and eco option is to install a MVHR system in your house. These DIY systems are now more affordable and we paid just over £4000 for our Vent Axia system supplied by BPC Ventilations based in Northern Ireland.
That price included the design (overlaid onto our timber frame CAD drawings) and all the materials we would need. The main unit (in our case a box around the same size as our built in cooker), all the pipework (radial ducting) for both incoming fresh air and for extracting stale air, all the little vents that are installed into the ceiling at various locations throughout the house. All the wet areas have extract vents and all the bedrooms and living spaces have fresh air vents. The way it works is the central unit continuously feeds filtered fresh air to the house. It also extracts the air from the vents located in the wet areas. The unit captures the heat for redistribution before expelling the stale air outside.
It took us around a day and a half to follow the design plans and install the unit and all the ducting pipes through the timber frame walls and ceiling joists. Having lived in the house for just over three months now, we love it.
Air Source Heat Pump (ASHP) and not installing radiators upstairs
For heating and hot water we installed a Mitsubishi Ecodan 11.2kw Air Source Heat Pump, supplied and fitted by a local firm. We really love how it works with the underfloor heating pipes installed into our concrete foundation slab. We also receive a domestic renewable heat incentive (RHI) payment over the next 7 years, which will nearly cover the cost of the unit and install (around 8k).
If we had more money we would have gone for a ground source heat pump, which works out more economical over the long run. This wasn’t achievable for us, so the ASHP is the next best thing. One area we’ve managed to save cost on is by not installing radiators or underfloor heating upstairs. It’s a warm house and so far we’ve not regretted our decision. We did decide to install electric underfloor heating in the upstair bathrooms, mainly because they have tiled floors. Though we haven’t needed to use them yet.
We also considered putting in a wood burner as we have good access to logs from our small woods. In the end budget prevented us, but we had also heard that they can quickly over heat these kind of highly insulated houses. Being in the house now, we can imagine that it would just get way too hot with a wood burner in, so we will settle for a fire pit outside.
Polished concrete floors
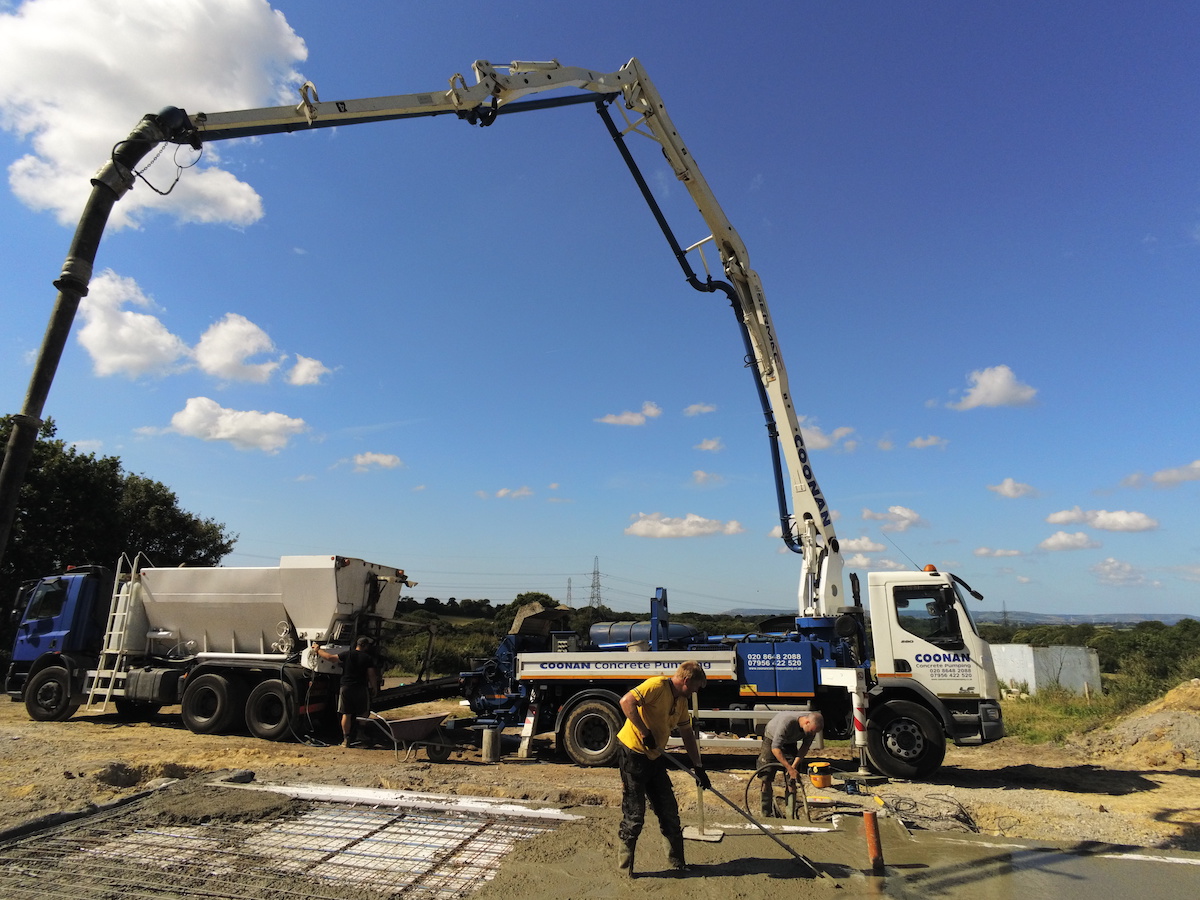
We ummed and ahed about our final floor for the ground floor. Gathering in quotes we decided polished concrete floors would be too expensive and tricky to get right. So we opted to go with polished concrete look tiles. However, when our foundation company finished the slab, we loved it so much we decided we’d like to try polishing it. Our foundation engineer wasn’t very encouraging – he explained the C35 mix wasn’t designed to be polished. Nevertheless, we spoke to a concrete polishing firm – Midland Concrete – who agreed to come and do a few sample patches for us. They looked great. They couldn’t guarantee a uniform look but we didn’t care. The cost worked out cheaper than concrete tiles at £65 per meter squared.

The floor certainly isn’t perfect, we have a few hairline cracks and there are areas where you can see more of the exposed aggregate. Overall it’s rustic and works well for a farmhouse. The work was completed in three days and we were delighted with the results.
Plastering
By the time we got to the plastering stage my bank account was getting down. So I was horrified when I received a number of plastering quotes all around the £20,000 mark. The figure included all the materials and labour for dry lining and skimming the walls, but it still seemed steep. I called up my local builders merchant and got a quote for all the materials, which came to less than £3,000. My builder estimated it would take around two weeks to dry line the walls with the plasterboard. I then got a quote from a duo of self employed plaster skimmers, who quoted me £6,000 to skim all the wall (around 12 days of work for them both). I’d made myself a £9,000 saving.
Other trades
We also saved money by going with a self employed electrician over a larger firm. For plumbing, we used a small local firm that have a good reputation. We probably could have saved a bit of money by going for a self employed plumber but we couldn’t find anyone who came recommended.
Ultimately, there are lots of opportunities to save money on your self-build journey. In our experience, we found it paid not to cut too many corners and to work with people you trust or that come recommended. In my next post I plan to discuss choosing final fixtures and fittings. I also want to cover kitchens and bathrooms and how we managed to finish the house on a tiny budget.
I hope you found some of these self build top tips helpful and I would love to hear your thoughts or answer any questions in our comments section below.
More Information
Read our how to build a modern farmhouse introduction here and follow up detailed post about the three most expensive items here.